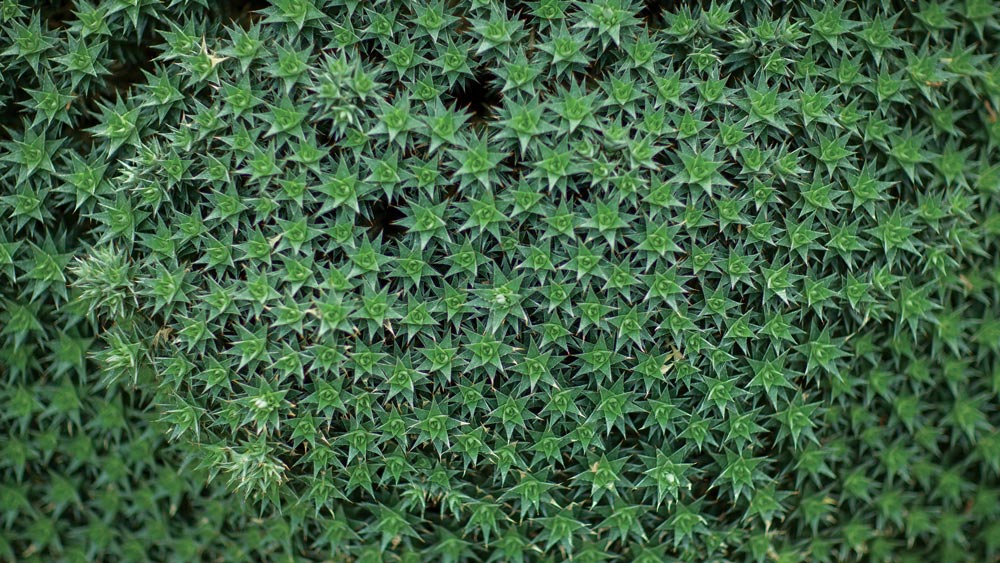


Photo: Adobe Stock / Goldengel
The answer to all these questions is the same: Plant moss.
There are more than 20,000 moss varieties worldwide, so you’re sure to find one that will work in your region. Best of all, because it’s so hardy, moss can be preferable to grass — particularly because you can skip the fertilizer, weed killer and tedious mowing. It even makes a great substitute for mulch, because it holds moisture and prevents soil erosion.
Intrigued? Use these six tips to get your moss party started:
- Source local species. You likely have moss growing near you, and once you spot it — during hikes, in parks, even in ditches — you’ll find it’s everywhere. Varieties native to your area will work best.
- Skim chunks or sheets. Moss doesn’t have a deep root system like other plants; it’s more like sheets of sod. So get a large amount, preferably in clumps with soil attached, as a starter for your yard.
- Clear your space. Dig up any weeds, stray plants and grass in the area where the moss will go, then rake the ground and remove any sticks so the moss can better establish itself.
- Water thoroughly. Moss loves moisture, and watering until the ground is a little muddy will give it a good starting point.
- Press firmly. Put your moss clumps/sheets onto the soil and press them into the ground. Insert a stick through the center of each clump to keep it affixed until its rhizoids (its root substitute) can take hold.
- Make a slurry. If you want to be more artistic with your moss — for example, wedging it between the stones of a walkway or along a rocky slope — then take a handful of the moss, shake off the soil and throw it in a blender along with one cup of buttermilk and one cup of water. Blend until smooth; then, pour the mixture where you want the moss to grow. You can also use a paintbrush and “paint” the moss onto surfaces like rocks or wood
Water often while your moss is getting established, and you should see growth within a few weeks. Although it might take more than a year for the moss to expand fully in all of the areas where you’ve placed it, you’ll be richly rewarded with a low-maintenance landscape favorite for years to come.
Make Room for Moss
Want to get moving on a maintenance-free moss garden? Let these common varieties plant the seed.