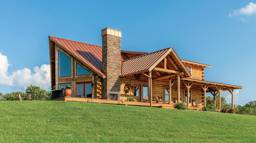

A few simple DIY projects in the fall will keep your log home looking this good through the winter.
Winter will be here before you know it. And you've got a lot of work to do to get your house, and surrounding property, ready. Some fall fixup jobs require expertise only a professional has. Others you can do yourself. For those do-it-yourselfers out there, we've come up with simple projects you can do on your own in a weekend or less.
1. Repair Log Home Caulk & Chinking
A major source of energy loss in log homes is damaged caulk and chinking. Fixing it is simple.Tools and materials:
A tube of color-matched caulk or chinking, a toothbrush, a trowel and a solution of rubbing alcohol and water is all you need.What the job entails:
First, do an inspection of your log home or log cabin. Look for cracks in the caulk or chinking, especially those with black mold, and places where the adhesive isn't attached to the log surface. If you have cohesive failure (meaning cracking within the material) squirt some color-matched caulk or chinking into the crack and dab with a toothbrush to get a matching surface finish. If the material has pulled away from the log, clean the surface and reapply with the material that was originally used. Squeeze in the adhesive, or push it in with a trowel and again, texture it so it blends. Be sure not to insert too much, though, because the material has to stretch.2. Refinishing Your Logs
Regular reapplication of water-repellant wood finishes can help extend the life of your logs. Every three to five years is a good rule of thumb.Tools and materials:
A brush or an airless sprayer to apply the finish, protective gloves, a ladder to get to hard-to-reach areas and a finish that works with your logs; some oil-based products don't work well on chink-style homes, while some water-based finishes shouldn't be used on milled logs. How much finish you'll need varies from 250 to 450 square feet per gallon, depending on the product. Usually, all that's needed are two thin coats, although some finishes need a third: a water-repellent topcoat to protects logs from the elements.What the job entails:
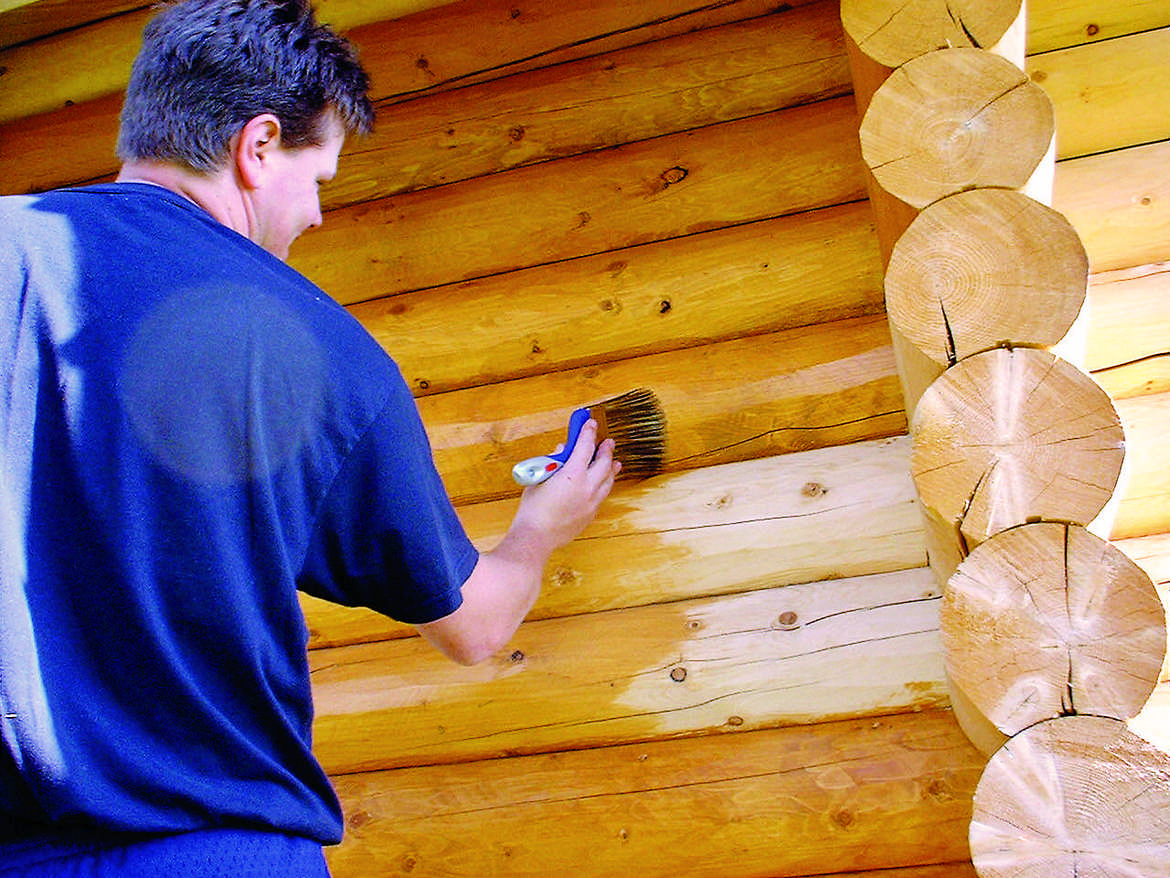 First, make sure your logs are clean of existing mold, mildew and dirt. Then apply the finish, checking the manufacturer's directions to see if one or two coats is needed. Back-brush as you go to work the finish into the wood and cover areas you may have missed. It also helps prevent lap marks that form when brushing from a wet edge to a dry edge. Temperature and humidity affect drying times. Generally, the finish should dry in about an hour; it takes three or four days for it to cure if weather and environmental conditionals cooperate. It doesn't take long to complete the standard application. If a second coat is necessary, don't wait too long; water repellents form and reach peak efficiency in about 72 hours. A second coat may be applied over the first coat almost immediately. If you find you can't apply a second coat in a timely manner, do a little extra brushing while applying the first coat.
3. Prevent Heat Loss in Your Log Home
The last thing you want in winter is heat escaping from your house. Check your windows and doors to see if warm air is escaping. To prevent energy loss in a log home, insulate your windows and weatherstrip your doors.Tools and materials:
To insulate windows, have a cigarette lighter, shrink-wrap film, a hair dryer, double-stick tape and a utility knife handy. For installing weatherstripping on your exterior doors, you'll need measuring tape, tin snips, safety glasses, finish nails, sill seal, a door sweep and, of course, weatherstripping.What the job entails:
To weatherstrip your doors, start by measuring the length of your doorstop. Be sure to measure from the threshold to the top of the door- stop. Cut a piece of weatherstripping (it's best to use rubber weatherstripping with an aluminum backing) to size with tin snips. Then close the door and place the weatherstripping snug against the door, being careful not to press tightly, just hold it so it will make a good seal. Then open the door and attach the weatherstripping to the doorstop with finish nails. You'll do the top piece the same way. Next, install a sill seal on the bottom of the exterior side of the door. It should fit snug against the threshold to stop drafts. Install a door sweep on the interior side to further prevent drafts.Insulating windows is a simple job. First check for drafts with a lighter and blow dryer. Have a partner stand outside and blow a hair dryer at the window. Inside, you'll light the lighter and move the flame around the window. A flickering flame is evidence of a draft. If a draft is present, cover the window with shrink-wrap film. Start by applying double-stick tape all the way around the window. Place the film against the tape, stretching it around the window and making sure it sticks firmly so it doesn't fall off when you heat it. Heat the film with a hair dryer. Keep it moving so you don't overheat any areas. Watch it tighten until the wrinkles are gone; then trim with a utility knife.